Steps to Migrating from Wix to WordPress
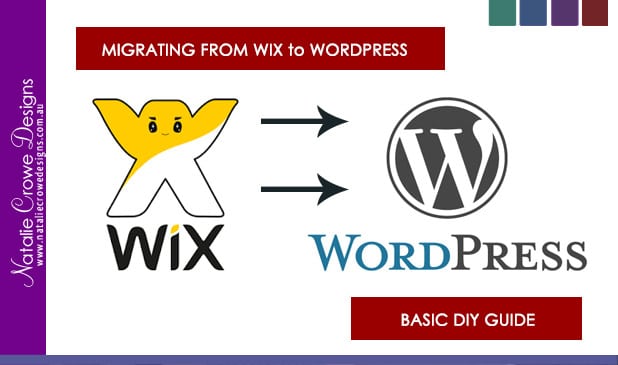
Wix is a great starting platform for any business. However WordPress offers a better a long term solution for business owners wanting to grow and improve their presence online.
In order to migrate from WIX to new WordPress setup you’re going to need to do some ground work to prepare yourself. There isn’t an actual conversion tool that does this migration for you cost effectively. Most often it’s like going to be a case of recreating the foundations in WordPress and whole lot of copy and pasting.
Setting Up Your Development Platform:
Whilst you’re rebuilding your site you’re going to want to have a domain name or website address to build your website with. Domain names are cheap in the grand scheme of things, you can pick up a basic domain for under $25 a year. Once your site is developed and you’re ready to go live, you can move your actual business website address over to the new platform. – I emphasise here you’re not going to lose it . We just need to get the process started so you can start building and the most efficient way to do that is to just purchase another domain name.
Second to your development domain name, we’re going to need to setup website hosting. Your website hosting is a purchased online storage space for the files and resources related to your new website. With your WIX website the hosting was included in the free or purchased account you had there.
So now the decision maker:
- What domain name will you choose?
- What hosting package will you choose?
- Which domain and hosting provider will you choose?
Many of our clients have SITEGROUND.com accounts setup. Siteground is a domain and hosting service you can buy products through. For this walk through I am going to use my links for specific siteground products however you’re free to choose whichever platforms you feel comfortable using.
Choosing a domain and hosting package:
1) Register a Domain
Go to https://www.siteground.com/go/ncddomains and type in the domain name you’d like to purchase for the development. You’ll see a heap of different options and prices so pick and choose which one will be the best for you and then click “add to cart”.
2) Next we’ll choose a hosting package.
If you click on the direct link is here: https://www.siteground.com/go/ncdhosting it’ll load recommended WordPress hosting packages. You can then click Add to Cart on the relevant package you’d like to purchase.
3) Lastly for this component, we’ll process the cart and configure your account.
Follow the prompts to complete your purchase. You’ll likely get an email in regards to your new account and how to login to your control panel to manage your new SITEGROUND account.
4) Login & Install WordPress
Login to your new hosting environment. If you’re using SITEGROUND there is a free installer for wordpress, however if you’ve used another hosting platform you’ll need to locate the installer inside your hosting control panel. Once you’ve found the installer. Install WordPress on the ROOT level directly so just on “/” not in a folder. We don’t want to make our links any longer. You can pick whatever theme you want – if it gives you the option to choose a theme here, as we can always change the theme later on.
5) Configure WordPress:
Once installed – You can configure the overall wordpress installation.
Some important Tips:
Go to SETTINGS > Permalinks and set to use “Post Names” and click SAVE
Go to SETTINGS > Reading and tick the ” Discourage search engines from indexing this site” so that your development site doesn’t come up on the search engines straight away. We’ll untick this when we go live.
6) Next you’ll choose and configure a theme.
Go to APPEARANCE > Themes and explore the range of “free” themes from the theme options, or you can purchase / install other things from external locations. You can configure the theme as you like.
7) Add your page structure-
Initially these will just be the place holders you’ll populate the content later.
Go to Pages> Add New Page and add the name of the page and leave it empty pages. Click Publish.
Go to the “Add New” button now located at the top of the page or go back to the side menu and click Add New under pages and repeat the process for each of your page.
7.1) Tell wordpress which is the homepage and which is your blog page.
Go to SETTINGS > Reading and select “the homepage displays as STATIC” set the Homepage to you new homepage and the posts page to your blog page.
8) Create the primary menu – now you’ve created the basic pages we’ll construct a menu.
Go to Appearances > Menus and create your primary menu
Tick the page names on the left and add them to your menu.
Tick the “Primary Menu” box often found on the bottom righthand side. of the screen – to tel the theme to use this menu as the primary menu.
9) Install / Activate / Configure Relevant Plugins:
Go to Plugins and you’ll want to go through and install any relevant plugins you’ll need for your website. In most cases there will be very similar plugins needed. We’ve included some samples you may consider installing if relevant these include:
♦ Woocommerce – Online Store plugin,
♦ Updraft to enable to you to make backups off the site.
♦ Yoast plugin for optimisation .
♦ WP Maintenance Mode – Creates Maintenance Mode page so the public can’t see your development.
Depending on the plugins you’ve chosen to install there is often some sort of configuration for each of the plugins required. Configure these the best you can and then we move onto migrating the content.
10) Copying your content:
Work your way through each page copying and pasting the content from your old site to the new site.
To do this go to Pages > Open the page you’re working on. You’ll need to copy over the content from WIX.
Photo TIP :
I’d suggest going through and saving copies of your images to directly from your WIX site and re-uploading them to your new site. To add photos to your page you’ll need to go to the “Add Media” button and upload files .
If you have blog posts, you’ll need to complete this process for those posts on separate blog posts.
There are plenty of other things you could do with your website configuration but this should give you a solid foundation moving forward.
Transferring your domain name from Wix:
The WIX website actually has step by step instructions here on how to transfer your domain name from their services. However the basic steps include:
- Login to the WIX website.
- Go to the “My Domains” page.
Note: If you have more than one domain in your account, select the relevant domain. - Click the Advanced tab.
- Click Transfer away from Wix.
- Click Send Code.
This will trigger an EPP code which you’ll use to transfer your domain name over to another domain provider.
Best of luck and we’ll post further instructions and step by step resources moving forward.
Kind Regards,
Natalie Crowe